it

OSI Model 7 Layers อุปกรณ์ — เข้าใจทุก Layer

OSI Model 7 Layers อุปกรณ์ — เข้าใจทุก Layer

OSI Model 7 Layers

OSI Model 7 Layers อุปกรณ์ — เข้าใจทุก Layer

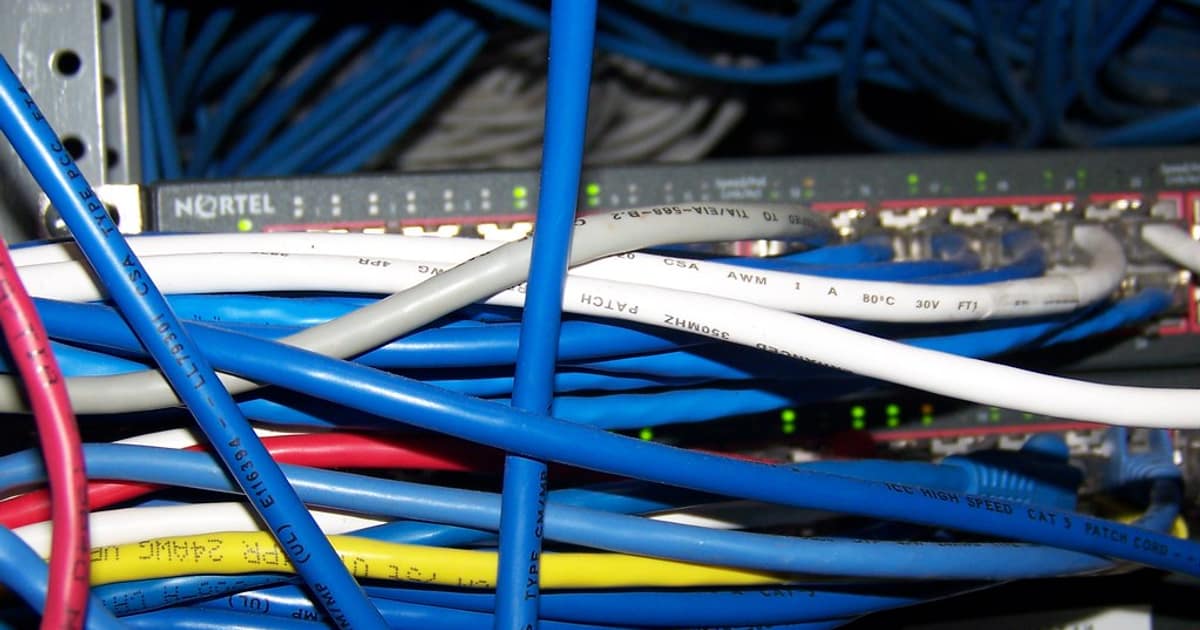
OSI Model 7 Layers อุปกรณ์ Protocol Physical Data Link Network Transport Session Presentation Application Hub Switch Router Firewall

เนื้อหาเกี่ยวข้อง — ดูเพิ่มเติมเรื่อง AlmaLinux Setup Agile Scrum Kanban

Layerชื่อหน้าที่อุปกรณ์ProtocolPDU
7Applicationติดต่อกับผู้ใช้Firewall, WAF, ProxyHTTP, DNS, SMTP, FTPData
6Presentationแปลงข้อมูลเข้ารหัส-SSL/TLS, JPEG, ASCIIData
5Sessionจัดการ Session-NetBIOS, RPC, PPTPData
4Transportส่งข้อมูลถึงปลายทาง-TCP, UDPSegment
3Networkกำหนดเส้นทางRouter, L3 SwitchIP, ICMP, OSPF, BGPPacket
2Data Linkส่งข้อมูลใน LANSwitch, Bridge, NICEthernet, ARP, VLANFrame
1Physicalส่งสัญญาณไฟฟ้า/แสงHub, Repeater, CableRS-232, DSL, FiberBit

รายละเอียดแต่ละ Layer

# === OSI Model Details ===

from dataclasses import dataclass

@dataclass
class OSILayer:
    number: int
    name: str
    function: str
    devices: str
    protocols: str
    pdu: str
    real_example: str

layers = [
    OSILayer(7, "Application",
        "จุดที่ Application ติดต่อกับ Network เช่น Web Browser Email Client",
        "WAF, Application Firewall, Load Balancer (L7), Proxy Server",
        "HTTP, HTTPS, FTP, SMTP, POP3, IMAP, DNS, DHCP, SSH, SNMP, Telnet",
        "Data",
        "เปิด Chrome พิมพ์ URL → HTTP Request ถูกสร้างที่ Layer นี้"),
    OSILayer(6, "Presentation",
        "แปลงรูปแบบข้อมูล เข้ารหัส บีบอัด ให้ Application เข้าใจ",
        "ไม่มีอุปกรณ์เฉพาะ (ทำงานใน Software)",
        "SSL/TLS, JPEG, PNG, GIF, MPEG, ASCII, Unicode, gzip",
        "Data",
        "HTTPS เข้ารหัสข้อมูลด้วย TLS ที่ Layer นี้ ก่อนส่งออกไป"),
    OSILayer(5, "Session",
        "สร้าง จัดการ ปิด Session ระหว่าง 2 เครื่อง",
        "ไม่มีอุปกรณ์เฉพาะ",
        "NetBIOS, RPC, PPTP, SIP",
        "Data",
        "Login เว็บ → Session ถูกสร้าง เก็บ Cookie จัดการที่ Layer นี้"),
    OSILayer(4, "Transport",
        "ส่งข้อมูลถึงปลายทางอย่างถูกต้อง ควบคุม Flow Error",
        "ไม่มีอุปกรณ์เฉพาะ (ทำงานใน OS Kernel)",
        "TCP (reliable, connection), UDP (fast, connectionless)",
        "Segment (TCP) / Datagram (UDP)",
        "ดาวน์โหลดไฟล์ใช้ TCP ดู YouTube Live ใช้ UDP"),
    OSILayer(3, "Network",
        "กำหนดเส้นทางข้อมูลข้าม Network ด้วย IP Address",
        "Router, Layer 3 Switch, Gateway",
        "IP (IPv4, IPv6), ICMP (ping), OSPF, BGP, RIP, NAT",
        "Packet",
        "ping google.com → ICMP Packet ถูก Route ผ่าน Router หลายตัว"),
    OSILayer(2, "Data Link",
        "ส่งข้อมูลภายใน LAN เดียวกัน ใช้ MAC Address",
        "Switch, Bridge, NIC (Network Interface Card)",
        "Ethernet (802.3), Wi-Fi (802.11), ARP, VLAN, STP, PPP",
        "Frame",
        "เสียบสายแลนเข้า Switch → Switch ดู MAC Address ส่ง Frame ไป Port ที่ถูก"),
    OSILayer(1, "Physical",
        "ส่งสัญญาณไฟฟ้า แสง คลื่นวิทยุ ผ่านสื่อกลาง",
        "Hub, Repeater, Modem, สาย UTP/STP, สาย Fiber Optic, Access Point",
        "RS-232, DSL, ISDN, Ethernet (physical), USB, Bluetooth",
        "Bit (0 และ 1)",
        "สาย UTP Cat6 ส่งสัญญาณไฟฟ้า 0/1 ด้วยความเร็ว 1 Gbps"),
]

print("=== OSI Model ===")
for l in layers:
    print(f"  Layer {l.number}: {l.name} ({l.pdu})")
    print(f"    Function: {l.function}")
    print(f"    Devices: {l.devices}")
    print(f"    Protocols: {l.protocols}")
    print(f"    Example: {l.real_example}")

Troubleshooting

OSI Model 7 Layers อุปกรณ์ — เข้าใจทุก Layer
# === Troubleshoot by Layer ===

@dataclass
class TroubleshootStep:
    layer: int
    layer_name: str
    check: str
    command: str
    expected: str

steps = [
    TroubleshootStep(1, "Physical",
        "สาย LED ไฟ Link สว่างไหม",
        "ดูไฟ LED ที่ NIC และ Switch Port / ลองเปลี่ยนสาย",
        "ไฟ LED สีเขียว Link Up"),
    TroubleshootStep(2, "Data Link",
        "MAC Address อยู่ใน ARP Table ไหม",
        "arp -a  (Windows/Linux)\nshow mac address-table (Switch)",
        "เห็น MAC Address ของปลายทาง"),
    TroubleshootStep(3, "Network",
        "IP ถูกต้องไหม ping ปลายทางได้ไหม",
        "ipconfig (Win) / ip addr (Linux)\nping 192.168.1.1\ntracert google.com",
        "Reply from ปลายทาง TTL=64"),
    TroubleshootStep(4, "Transport",
        "Port เปิดีไหม Firewall Block ไหม",
        "telnet server 80\nTest-NetConnection server -Port 443 (PowerShell)\nnetstat -tlnp (Linux)",
        "Connected / Port LISTENING"),
    TroubleshootStep(7, "Application",
        "Service ทำงานไหม Response ถูกต้องไหม",
        "curl http://server/health\nnslookup domain.com\nsystemctl status nginx",
        "HTTP 200 OK / DNS Resolved"),
]

print("=== Troubleshoot Steps ===")
for s in steps:
    print(f"  Layer {s.layer} ({s.layer_name}): {s.check}")
    print(f"    Command: {s.command}")
    print(f"    Expected: {s.expected}")

# Wireshark filters by layer
filters = {
    "Layer 2 (Ethernet)": "eth.addr == aa:bb:cc:dd:ee:ff",
    "Layer 3 (IP)": "ip.addr == 192.168.1.100",
    "Layer 3 (ICMP/ping)": "icmp",
    "Layer 4 (TCP port)": "tcp.port == 443",
    "Layer 4 (UDP)": "udp.port == 53",
    "Layer 7 (HTTP)": "http.request.method == GET",
    "Layer 7 (DNS)": "dns.qry.name == google.com",
}

print(f"\n\nWireshark Filters:")
for k, v in filters.items():
    print(f"  [{k}]: {v}")

เปรียบเทียบ OSI กับ TCP/IP

# === OSI vs TCP/IP Model ===

@dataclass
class ModelComparison:
    tcp_ip_layer: str
    osi_layers: str
    protocols: str
    devices: str

comparison = [
    ModelComparison("Application",
        "Layer 7 + 6 + 5 (Application + Presentation + Session)",
        "HTTP, HTTPS, FTP, SMTP, DNS, SSH, TLS",
        "Firewall, WAF, Load Balancer, Proxy"),
    ModelComparison("Transport",
        "Layer 4 (Transport)",
        "TCP, UDP",
        "-"),
    ModelComparison("Internet",
        "Layer 3 (Network)",
        "IP, ICMP, ARP, OSPF, BGP",
        "Router, L3 Switch"),
    ModelComparison("Network Access",
        "Layer 2 + 1 (Data Link + Physical)",
        "Ethernet, Wi-Fi, PPP",
        "Switch, Hub, NIC, Cable"),
]

print("=== OSI vs TCP/IP ===")
for c in comparison:
    print(f"  TCP/IP: {c.tcp_ip_layer}")
    print(f"    OSI: {c.osi_layers}")
    print(f"    Protocols: {c.protocols}")
    print(f"    Devices: {c.devices}")

# Memory trick
trick = {
    "บนลงล่าง (7→1)": "All People Seem To Need Data Processing",
    "ล่างขึ้นบน (1→7)": "Please Do Not Throw Sausage Pizza Away",
    "ภาษาไทย (7→1)": "แอป พรี เซส ทรานส์ เน็ต ดาต้า ฟิสิคอล",
}

print(f"\n\nMemory Tricks:")
for k, v in trick.items():
    print(f"  [{k}]: {v}")

เคล็ดลับ

  • Bottom-up: Troubleshoot จาก Layer 1 ขึ้นไปตรวจสายก่อน
  • Wireshark: ใช้ Wireshark จับ Packet วิเคราะห์ทุก Layer
  • TCP/IP: ในงานจริงใช้ TCP/IP Model 4 ชั้นมากกว่า OSI 7 ชั้น
  • Mnemonic: ใช้ประโยคช่วยจำ Please Do Not Throw Sausage Pizza Away
  • CCNA: OSI Model เป็นหัวข้อหลักในข้อสอบ CCNA Network+

OSI Model คืออะไร

แบบจำลอง 7 ชั้น ISO สื่อสารข้อมูลเครือข่าย Physical Application Troubleshoot CompTIA Network+ CCNA พื้นฐาน

แนะนำเพิ่มเติม — ระบบเทรดของ iCafeForex

เนื้อหาเกี่ยวข้อง — บทความที่เกี่ยวข้อง: XDR Platform CQRS Event Sourcing

เนื้อหาเกี่ยวข้อง — Mintlify Docs Infrastructure as Code

XM Legend · เทรดเดอร์ & ผู้สอน Forex 13 ปี

ผู้ก่อตั้ง SiamCafe ตั้งแต่ปี 1997 · เทรดเดอร์สาย Forex มากกว่า 13 ปี ได้รับการยกย่องเป็น XM Legend · แบ่งปันความรู้ Forex, ไอที, AI และการเทรด จากประสบการณ์จริงในตลาดจริง