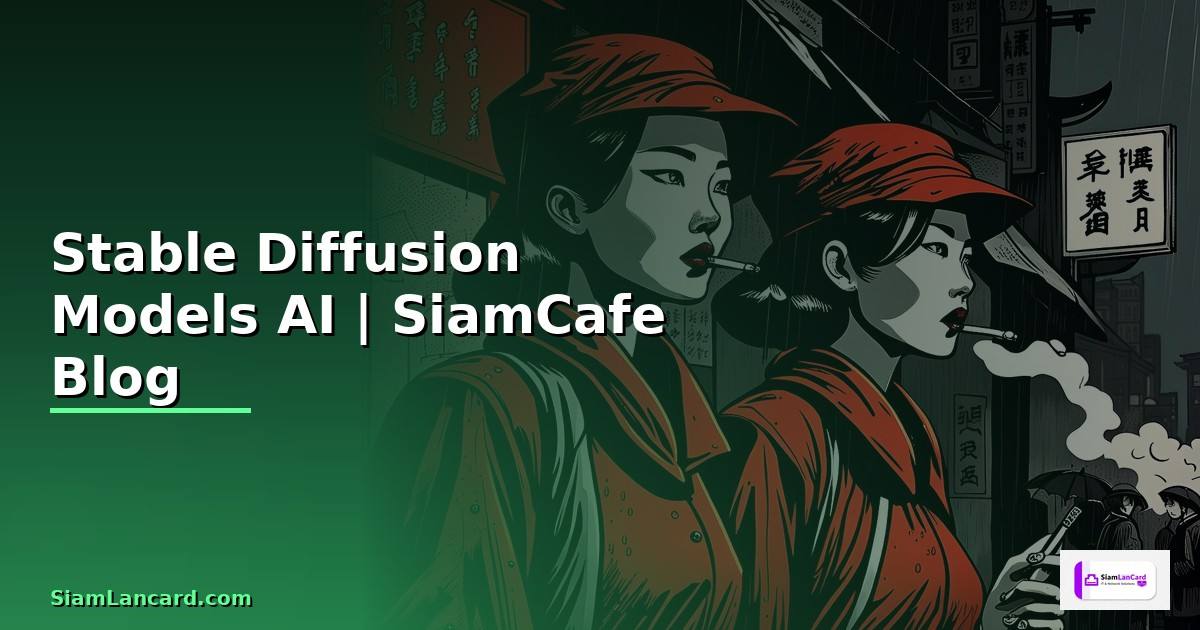
Stable Diffusion Models — รวมโมเดล AI
Stable Diffusion คืออะไร
Stable Diffusion เป็น AI Generative Model ที่สร้างภาพจากข้อความ (Text-to-Image) พัฒนาโดย Stability AI ใช้เทคนิค Latent Diffusion Model (LDM) ที่ทำงานใน Latent Space แทนที่จะทำงานบน Pixel โดยตรง ทำให้เร็วกว่าและใช้ VRAM น้อยกว่า Diffusion Models แบบเดิม
จุดเด่นของ Stable Diffusion คือเป็น Open-source มี Community ขนาดใหญ่ที่สร้าง Custom Models, LoRA, Embeddings และ Extensions มากมาย รองรับ Text-to-Image, Image-to-Image, Inpainting, Outpainting, ControlNet และ Video Generation
เนื้อหาเกี่ยวข้อง — ดูเพิ่มเติมเรื่อง Ollama Local LLM Learning Path Roadmap
เปรียบเทียบ Stable Diffusion Models
| Model | Resolution | VRAM | Speed | คุณภาพ | หมายเหตุ |
|---|---|---|---|---|---|
| SD 1.5 | 512x512 | 4-8 GB | เร็ว | ดี | Community Models เยอะที่สุด |
| SD 2.1 | 768x768 | 6-10 GB | ปานกลาง | ดี | ไม่ค่อยนิยม |
| SDXL 1.0 | 1024x1024 | 8-12 GB | ช้ากว่า | ดีมาก | มี Refiner Model |
| SDXL Turbo | 512x512 | 8 GB | เร็วมาก (1-4 Steps) | ดี | Real-time Generation |
| SD3 Medium | 1024x1024 | 12+ GB | ปานกลาง | ดีที่สุด | MMDiT Architecture |
| FLUX.1 | 1024x1024+ | 12+ GB | ปานกลาง | ดีเยี่ยม | จาก Black Forest Labs |
Community Models ยอดนิยม (SD 1.5 Based)
- Realistic Vision: ภาพคนสมจริง Photorealistic
- DreamShaper: อเนกประสงค์ ทั้งสมจริงและ Fantasy
- Anything V5: Anime/Manga Style
- RevAnimated: Anime + Semi-realistic
- Deliberate: สมจริง ยืดหยุ่นสูง
ติดตั้งและใช้งาน Stable Diffusion
# === วิธีที่ 1: ติดตั้ง Automatic1111 WebUI ===
# (แนะนำสำหรับผู้เริ่มต้น มี GUI ใช้งานง่าย)

# Clone Repository
git clone https://github.com/AUTOMATIC1111/stable-diffusion-webui.git
cd stable-diffusion-webui

# รัน (จะติดตั้ง Dependencies อัตโนมัติ)
# Windows
webui-user.bat

# Linux/Mac
bash webui.sh

# เปิด Browser ไปที่ http://localhost:7860

# === วิธีที่ 2: ติดตั้ง ComfyUI ===
# (แนะนำสำหรับผู้ใช้ขั้นสูง Node-based Workflow)

git clone https://github.com/comfyanonymous/ComfyUI.git
cd ComfyUI

# สร้าง Virtual Environment
python -m venv venv
source venv/bin/activate  # Linux/Mac
# venv\Scripts\activate   # Windows

# ติดตั้ง Dependencies
pip install torch torchvision torchaudio --index-url https://download.pytorch.org/whl/cu121
pip install -r requirements.txt

# รัน
python main.py
# เปิด http://localhost:8188

# === วิธีที่ 3: ใช้ Python Script โดยตรง ===
pip install diffusers transformers accelerate safetensors

# ดาวน์โหลด Model
# วาง .safetensors ไฟล์ใน models/Stable-diffusion/

# === โครงสร้าง Directory ===
stable-diffusion-webui/
├── models/
│   ├── Stable-diffusion/    # Main Models (.safetensors)
│   ├── Lora/                # LoRA Models
│   ├── VAE/                 # VAE Models
│   └── ControlNet/          # ControlNet Models
├── embeddings/              # Textual Inversion
├── extensions/              # Extensions/Plugins
└── outputs/                 # Generated Images
Python Script สร้างภาพด้วย Diffusers
# generate.py — สร้างภาพด้วย Stable Diffusion ผ่าน Python
import torch
from diffusers import (
    StableDiffusionPipeline,
    StableDiffusionXLPipeline,
    DPMSolverMultistepScheduler,
    EulerAncestralDiscreteScheduler,
)
from PIL import Image
import os
import json
from datetime import datetime

class SDGenerator:
    """Stable Diffusion Image Generator"""

    def __init__(self, model_id="stabilityai/stable-diffusion-xl-base-1.0",
                 device=None, dtype=torch.float16):
        self.device = device or ("cuda" if torch.cuda.is_available() else "cpu")
        self.dtype = dtype

        print(f"Loading model: {model_id}")
        if "xl" in model_id.lower():
            self.pipe = StableDiffusionXLPipeline.from_pretrained(
                model_id, torch_dtype=dtype, variant="fp16",
                use_safetensors=True,
            )
        else:
            self.pipe = StableDiffusionPipeline.from_pretrained(
                model_id, torch_dtype=dtype,
                use_safetensors=True,
            )

        self.pipe = self.pipe.to(self.device)

        # Optimizations
        self.pipe.enable_attention_slicing()
        if hasattr(self.pipe, "enable_xformers_memory_efficient_attention"):
            self.pipe.enable_xformers_memory_efficient_attention()

        print(f"Model loaded on {self.device}")

    def set_scheduler(self, scheduler_name="euler_a"):
        """เปลี่ยน Scheduler"""
        schedulers = {
            "euler_a": EulerAncestralDiscreteScheduler,
            "dpm++_2m": DPMSolverMultistepScheduler,
        }
        if scheduler_name in schedulers:
            self.pipe.scheduler = schedulers[scheduler_name].from_config(
                self.pipe.scheduler.config
            )

    def generate(self, prompt, negative_prompt="", width=1024, height=1024,
                 steps=30, cfg_scale=7.0, seed=-1, batch_size=1):
        """สร้างภาพ"""
        if seed == -1:
            seed = torch.randint(0, 2**32, (1,)).item()

        generator = torch.Generator(self.device).manual_seed(seed)

        images = self.pipe(
            prompt=prompt,
            negative_prompt=negative_prompt,
            width=width,
            height=height,
            num_inference_steps=steps,
            guidance_scale=cfg_scale,
            generator=generator,
            num_images_per_prompt=batch_size,
        ).images

        return images, seed

    def save_with_metadata(self, images, prompt, negative_prompt, seed,
                           output_dir="outputs"):
        """บันทึกภาพพร้อม Metadata"""
        os.makedirs(output_dir, exist_ok=True)
        timestamp = datetime.now().strftime("%Y%m%d_%H%M%S")
        paths = []

        for i, img in enumerate(images):
            filename = f"{timestamp}_{seed}_{i}.png"
            filepath = os.path.join(output_dir, filename)
            img.save(filepath)
            paths.append(filepath)

            # Save metadata
            meta = {
                "prompt": prompt,
                "negative_prompt": negative_prompt,
                "seed": seed,
                "model": str(self.pipe.config._name_or_path),
                "timestamp": timestamp,
            }
            meta_path = filepath.replace(".png", ".json")
            with open(meta_path, "w") as f:
                json.dump(meta, f, indent=2)

        return paths

# ตัวอย่างการใช้งาน
gen = SDGenerator("stabilityai/stable-diffusion-xl-base-1.0")
gen.set_scheduler("euler_a")

prompt = "a beautiful mountain landscape at sunset, dramatic lighting, " \
         "photorealistic, 8k, highly detailed"
negative = "blurry, low quality, watermark, text, deformed"

images, seed = gen.generate(
    prompt=prompt,
    negative_prompt=negative,
    width=1024, height=1024,
    steps=30, cfg_scale=7.0,
)

paths = gen.save_with_metadata(images, prompt, negative, seed)
print(f"Saved: {paths}")
Prompt Engineering สำหรับ Stable Diffusion
Fine-tuning และ LoRA Training
# === LoRA Training ด้วย Kohya-ss ===

# ติดตั้ง
git clone https://github.com/kohya-ss/sd-scripts.git
cd sd-scripts
pip install -r requirements.txt

# เตรียมข้อมูล Training
# โครงสร้าง:
# train_data/
# ├── 10_subject/          # 10 = repeats, subject = tag
# │   ├── image_01.png
# │   ├── image_01.txt     # Caption
# │   ├── image_02.png
# │   └── image_02.txt
# └── reg/                 # Regularization Images (optional)
#     └── 1_class/

# Training Command
accelerate launch --num_cpu_threads_per_process 1 train_network.py \
  --pretrained_model_name_or_path="stabilityai/stable-diffusion-xl-base-1.0" \
  --train_data_dir="./train_data" \
  --output_dir="./output_lora" \
  --output_name="my_custom_lora" \
  --resolution=1024 \
  --train_batch_size=1 \
  --max_train_epochs=10 \
  --learning_rate=1e-4 \
  --network_module=networks.lora \
  --network_dim=32 \
  --network_alpha=16 \
  --optimizer_type="AdamW8bit" \
  --mixed_precision="fp16" \
  --save_every_n_epochs=2 \
  --caption_extension=".txt" \
  --cache_latents \
  --enable_bucket \
  --min_bucket_reso=256 \
  --max_bucket_reso=2048

# Training Tips:
# network_dim: 32-128 (สูง = เรียนรู้มาก ไฟล์ใหญ่)
# learning_rate: 1e-4 ถึง 5e-5 (สำหรับ SDXL)
# epochs: 5-20 (ดู Loss ไม่ให้ Overfit)
# images: 10-50 ภาพ (คุณภาพดีกว่าปริมาณ)
Stable Diffusion คืออะไร
Stable Diffusion เป็น AI Model สร้างภาพจากข้อความ Open-source จาก Stability AI ใช้ Latent Diffusion ทำงานเร็วและใช้ VRAM น้อย รองรับ Text-to-Image, Image-to-Image, Inpainting มี Community Models และ Extensions มากมาย
Stable Diffusion มีกี่เวอร์ชัน
เวอร์ชันหลัก SD 1.5 (512x512 Community เยอะ), SDXL (1024x1024 คุณภาพสูง), SDXL Turbo (เร็ว 1-4 Steps), SD3 (MMDiT ดีที่สุด) และ FLUX.1 Community Models นิยม เช่น Realistic Vision, DreamShaper, Anything V5
แนะนำเพิ่มเติม — ติดตาม XM Signal
เนื้อหาเกี่ยวข้อง — อ่านต่อ: Azure DevOps Pipeline Load Testing Strategy
ต้องใช้ GPU แรงแค่ไหน
SD 1.5 ใช้ VRAM 4-8GB, SDXL ใช้ 8-12GB, SD3 ใช้ 12GB+ แนะนำ RTX 3060 12GB ขึ้นไป ถ้าไม่มี GPU ใช้ Google Colab (ฟรี T4 GPU) หรือ Cloud GPU เช่น RunPod, Vast.ai ได้
เนื้อหาเกี่ยวข้อง — Btrfs Filesystem Cloud Native Design
วิธีเขียน Prompt ที่ดีทำอย่างไร
เริ่มจาก Subject + Style + Details + Quality Tags ใช้ Negative Prompt กำจัดสิ่งไม่ต้องการ ใช้ Weight Syntax เพิ่มลดความสำคัญ ใช้ ControlNet ควบคุมท่าทางและ Composition ใช้ LoRA ปรับสไตล์เฉพาะ ทดลองและปรับจนได้ผลลัพธ์ที่ต้องการ
แนะนำเพิ่มเติม — SiamCafeBook
สรุป
Stable Diffusion เป็น AI สร้างภาพ Open-source ที่ทรงพลังที่สุด มีหลายเวอร์ชันให้เลือกตาม GPU และความต้องการ ใช้งานผ่าน Automatic1111 WebUI หรือ ComfyUI สำหรับ GUI หรือ Diffusers Library สำหรับ Python Script สิ่งสำคัญคือเรียนรู้ Prompt Engineering, ใช้ Negative Prompt, ControlNet ควบคุม Composition และ LoRA ปรับสไตล์ Community มี Models และ Extensions ให้ใช้มากมายบน CivitAI และ Hugging Face
เนื้อหาเกี่ยวข้อง — แนะนำให้อ่าน ACME Protocol Cost Optimization ลดค่าใช้จ่าย